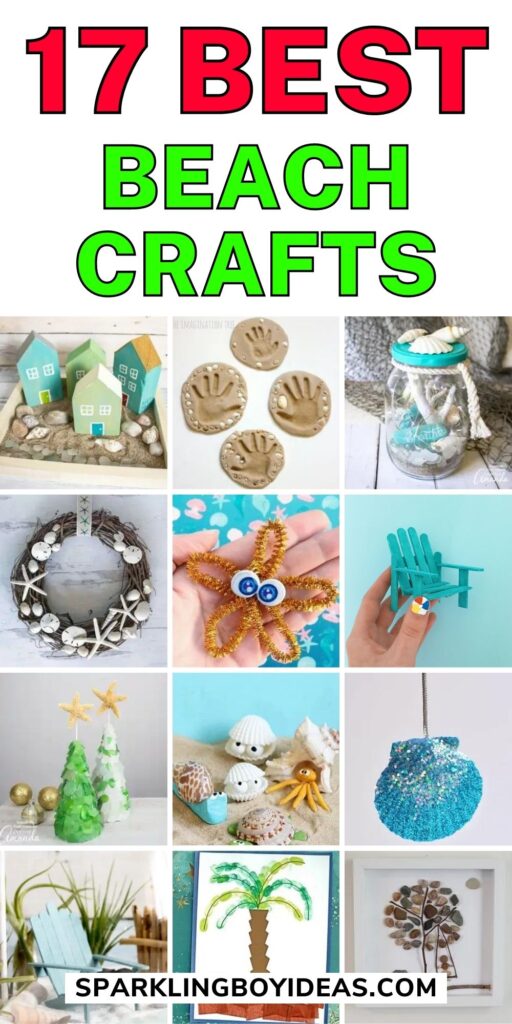
Beach crafts bring the seaside home. Dive into DIY summer crafts for kids and create seashell art projects that capture the spirit of the ocean. From beach sand art bottles to ocean-themed crafts, there’s a project for every age and skill level. Decorate your space with driftwood decor crafts and beach glass artwork, or make a statement with beach-inspired jewelry making. Whether you’re crafting seaside lanterns DIY or coastal wall art ideas, these summer crafts celebrate summer all year round.
The beach is not only a haven for sunbathing and swimming but also a treasure trove of inspiration for arts and crafts enthusiasts.
In this blog, we’ll dive into the world of beach crafts and explore a variety of creative projects that can be enjoyed by all ages.
From seashell jewelry and sand art to driftwood sculptures and beach-themed paintings, I’ll guide you through a range of simple and easy beach crafts that will unleash your inner artist while capturing the beauty of the seaside.
So grab your sunscreen, embrace the sandy shores, and get ready to embark on a creative journey that celebrates the wonders of nature through your own artistic creations.
10 Tips To Preserve Beach Crafts To Withstand Sun, Saltwater, & Sand
As beach enthusiasts, we appreciate the beauty and serenity of the shoreline.
Collecting seashells, driftwood, and other natural treasures is a beloved pastime for many.
Transforming these materials into beautiful crafts allows us to bring a piece of the beach into our homes.
To ensure the longevity of these creations, it is crucial to implement proper preservation methods.
Let’s dive into useful tips that will help your beach crafts stand the test of time.
Tip 1: Choose Durable Materials
When creating beach crafts, selecting durable materials is the first step toward longevity.
Opt for sturdy seashells, robust driftwood, and resilient metals or ceramics.
Fragile materials may not withstand the harsh beach environment as well as more durable alternatives.
By choosing durable components, you set a solid foundation for long-lasting beach crafts.
Tip 2: Apply Protective Coatings
To shield your beach crafts from sun, saltwater, and sand, applying protective coatings is essential.
Sealants, varnishes, and waterproof sprays can help create a barrier against these elements.
Before applying any coating, ensure that the surface is clean and dry.
This protective layer will safeguard your crafts and enhance their resistance to environmental factors.
Tip 3: Keep Crafts Out of Direct Sunlight
Prolonged exposure to direct sunlight can fade colors and cause materials to deteriorate.
Whenever possible, display your beach crafts away from windows or use curtains or blinds to filter sunlight.
Indirect lighting can help preserve the vibrancy and integrity of your creations for a longer period.
Tip 4: Rinse Crafts with Freshwater After Use
After spending a day at the beach, it’s crucial to rinse your crafts with fresh water.
Saltwater can accelerate corrosion and damage the materials over time.
Use a gentle stream of water to remove any residual salt, sand, or debris.
Pat dry the crafts with a soft cloth and allow them to air dry completely before storing or displaying them.
Tip 5: Store Crafts Properly
Proper storage is key to maintaining the condition of your beach crafts.
Store them in a cool, dry place, away from excessive heat or humidity.
Consider using individual compartments or protective cases to prevent them from rubbing against each other and causing damage.
Additionally, ensure that the storage area is free from pests or insects that may harm your crafts.
Tip 6: Avoid Excessive Exposure to Saltwater
While it may be tempting to showcase your beach crafts near the water’s edge, excessive exposure to saltwater can be detrimental to their longevity.
High salt concentrations can accelerate corrosion and lead to deterioration.
Display your crafts in areas where they won’t come into direct contact with salt water, ensuring their preservation.
Tip 7: Regular Cleaning and Maintenance
Routine cleaning and maintenance are vital to preserving the beauty of your beach crafts.
Use a soft brush or cloth to remove dust and debris gently. Avoid harsh chemicals that could harm the materials.
By incorporating regular cleaning into your routine, you will prevent the buildup of dirt and grime, keeping your crafts looking their best.
Tip 8: Repair Damages Promptly
Accidents happen, and sometimes beach crafts may sustain damage.
Whether it’s a broken seashell or a loose piece of driftwood, it’s important to repair these damages promptly.
Use appropriate adhesives or techniques suitable for the material to restore the craft’s integrity.
By addressing damages quickly, you prevent further deterioration and extend the lifespan of your creations.
Tip 9: Use UV-Resistant Paints and Sealants
When adding decorative touches to your beach crafts, choose UV-resistant paints and sealants. These specialized products offer protection against harmful ultraviolet rays, preventing color fading and material degradation. By using UV-resistant materials, your crafts will retain their vibrant colors and resist sun-induced damage for an extended period.
Tip 10: Enjoy Your Beach Crafts Responsibly
While it’s essential to take proper care of your beach crafts, remember to enjoy them responsibly.
Beach crafts are meant to be admired and appreciated, so share them with others and take pleasure in the beauty they bring to your surroundings.
By striking a balance between preservation and enjoyment, you can create a lasting connection with the beach and its treasures.
Creative DIY Beach Crafts
“ Affiliate links are provided for your convenience, please read my disclosure for more information.”


17. Watercolor Seashell Frame Summer Craft

Credit: Glued To My Crafts Blog
16. Paper & Thumbprint Palm Tree Craft
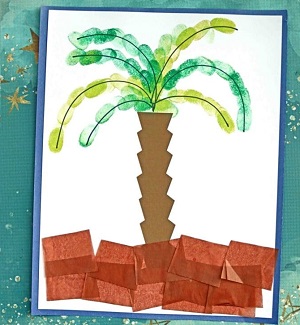
Credit: Glued To My Crafts Blog
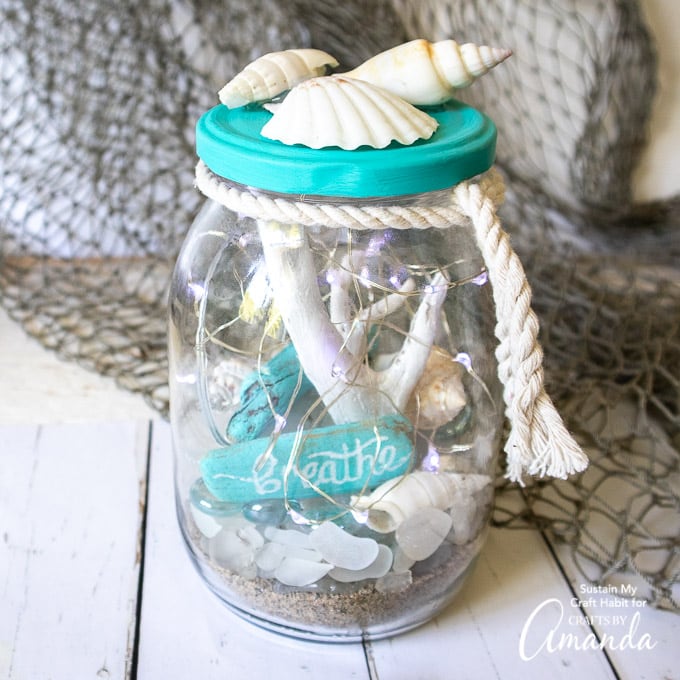
15. Mini Mason Jar Aquariums
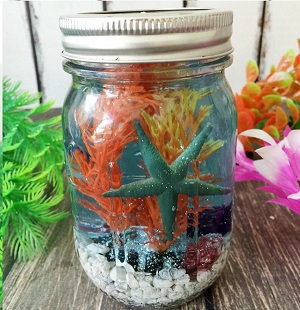
Credit: A Little Claireification
14. Sea Glass Christmas Tree
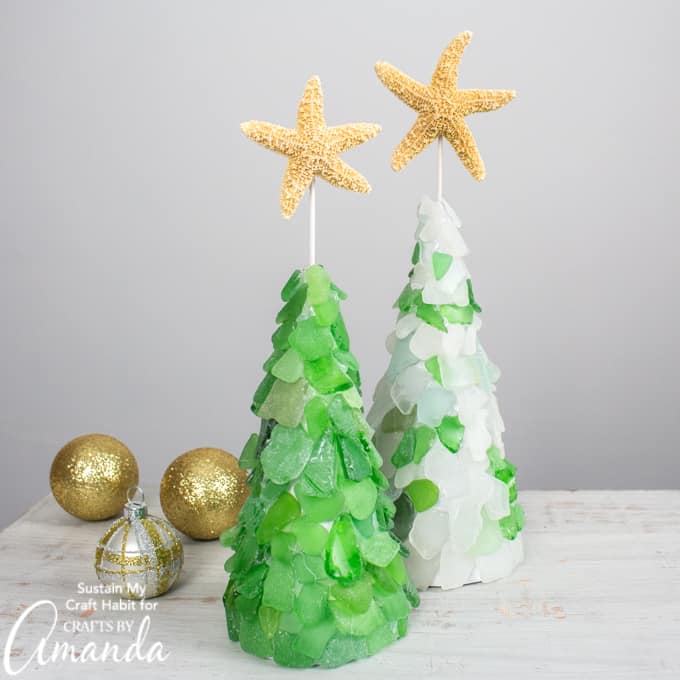
Credit: Crafts By Amanda
13. Seashell Ornaments

Credit: One Little Project
12. Fantasy Mermaid Eggs
Credit: Adventure In A Box
11. Seashell Creatures
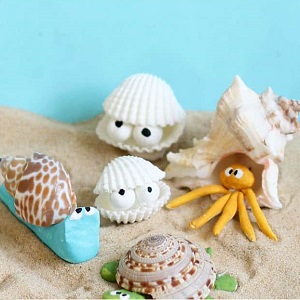
Credit: The Decorated Cookie
10. Pipe Cleaner Starfish

Credit: Glued To My Crafts Blog
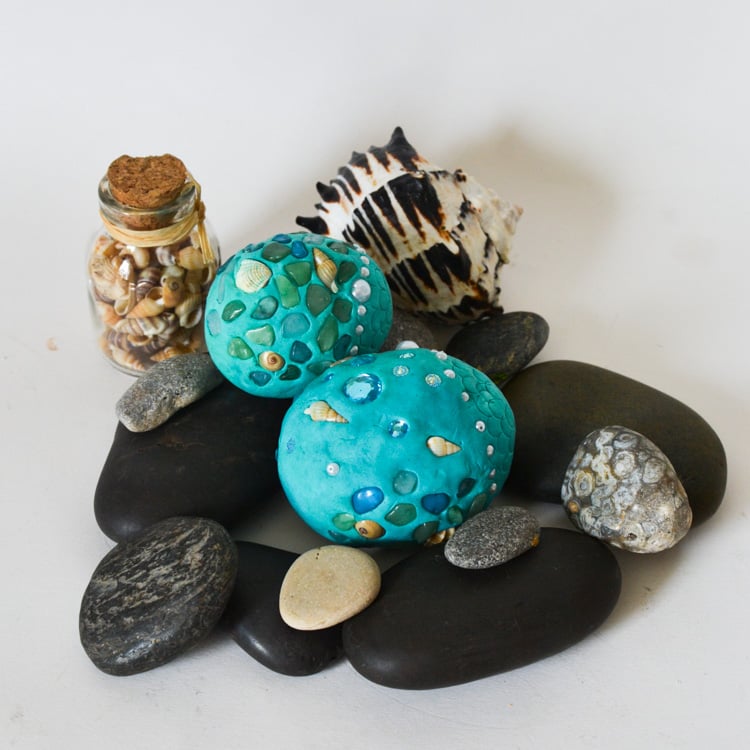
9. DIY Pebble Art

Credit: Feeling Nifty
8. Beach Terrarium
Credit: Crafts By Amanda
7. Mini Adirondack Chairs
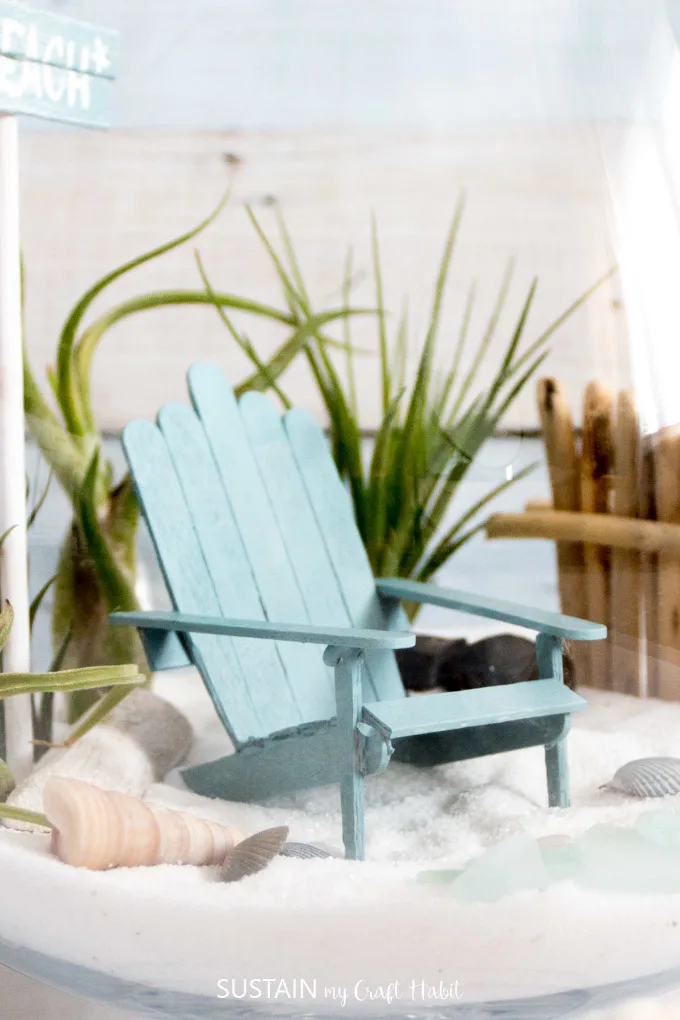
Credit: Sustain My Craft Habit
6. Beach Themed Ornaments
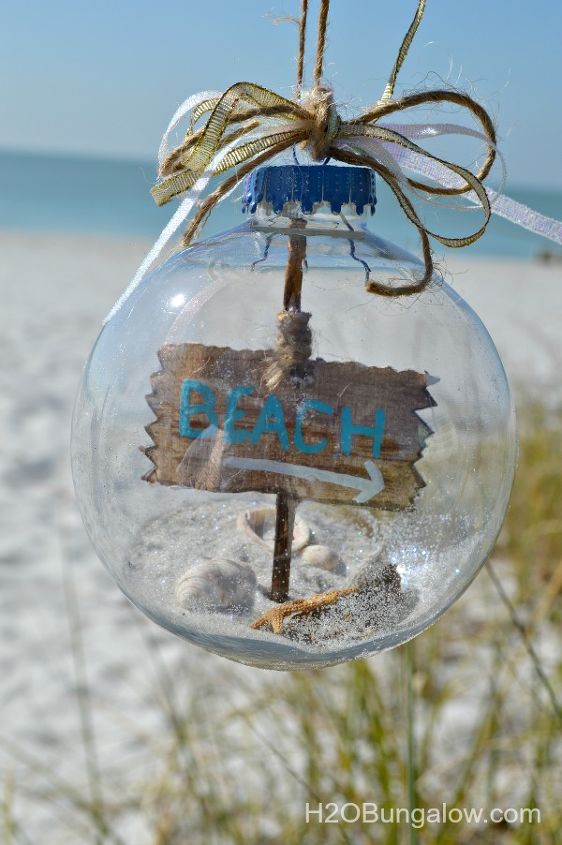
Credit: Hometalk
5. Popsicle Stick Beach Chair
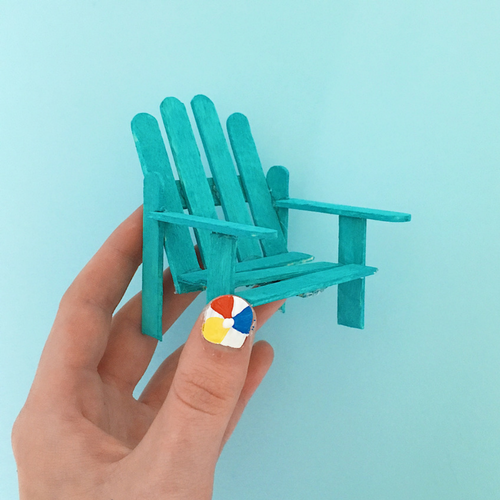
Credit: DIY In The Forest
4. Seashell Wreath
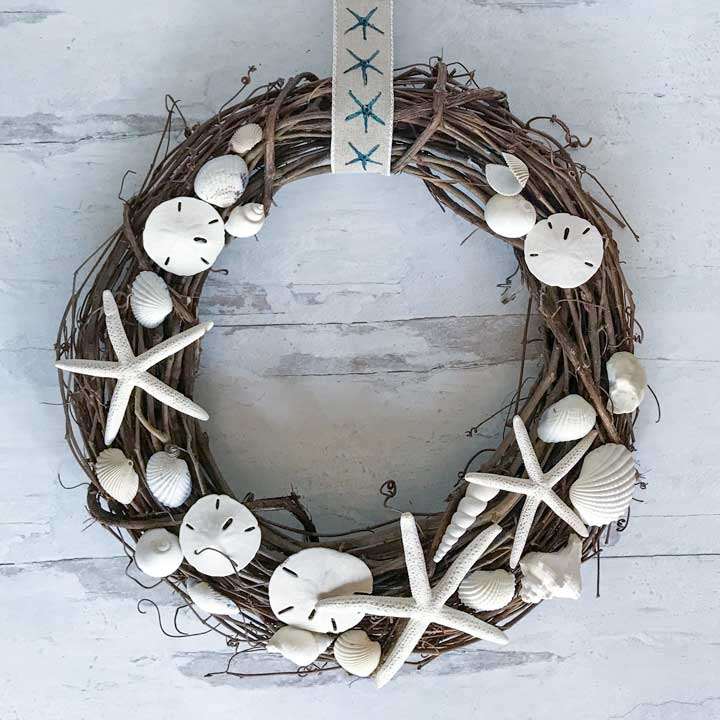
Credit: Coastal Wandering
3. Beachy Scrap Wood House Craft
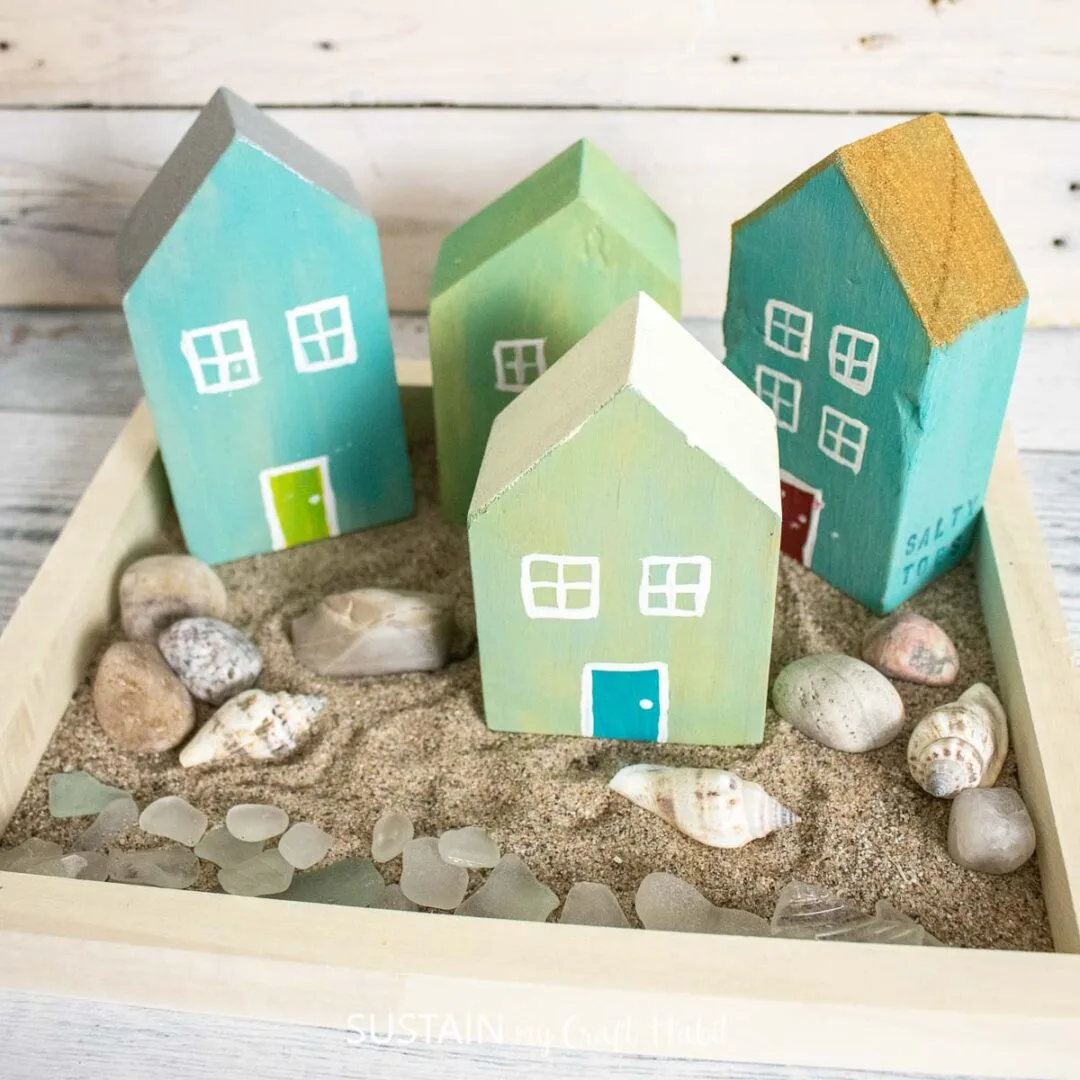
Credit: Sustain My Craft Habit
2. Sandclay Handprint Keepsakes
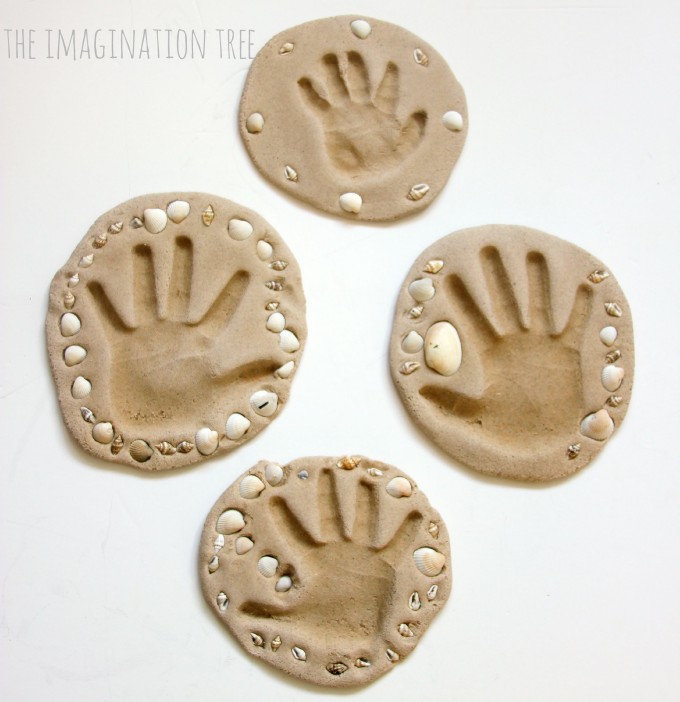
Credit: The Imagination Tree
1. Weathered Paint Stick Beach Flag
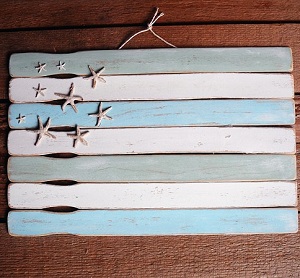
Credit: Crafts By Amanda
FAQs
Q. Can I use regular household paint for my beach crafts?
While regular household paint may be suitable for some crafts, it’s advisable to use paints specifically designed for outdoor use and UV resistance. These paints offer better protection against sun damage and fading.
Q. How often should I clean my beach crafts?
The frequency of cleaning depends on various factors such as the environment and the amount of dirt accumulated. However, a gentle cleaning every few weeks or whenever visibly dirty is recommended.
Q. Are there any specific storage requirements for beach crafts?
Store your beach crafts in a cool, dry place away from direct sunlight and excessive humidity. Individual compartments or protective cases can help prevent damage from contact with other objects.
Q. Can I display my beach crafts outdoors?
While it’s possible to display beach crafts outdoors, it’s important to protect them from direct sunlight, saltwater exposure, and extreme weather conditions. Consider covered or shaded areas for optimal preservation.
Q. How can I repair a broken seashell on my craft?
For repairing broken seashells, use a waterproof adhesive suitable for shell materials. Apply the adhesive to the broken edges and hold them together until the glue sets. Allow sufficient drying time before handling the craft.
Now comes the important question… Which beach crafts do you like the most? Please let me know in the comments.
Few more ideas!!!
Want to save this for later? Post these Beach Crafts to the “Beach Crafts” OR “Summer Crafts For Kids” Board!


